How To Properly Use A Pacifier Clip For Your Baby
We may earn money or products from the companies mentioned in this post.
Ever found yourself playing a mini game of fetch every time your little one’s pacifier decides to take a dive? Ah, the joys of parenthood! Here’s a fact: a nifty tool called the ‘pacifier clip’ can be your new best friend, keeping that paci within arm’s reach (and off that not-so-sterile floor).
I’ll guide you through choosing and using these lifesavers so you can wave goodbye to the “5-second rule” forever. Get ready—peaceful days and cleaner binkies ahead!
Key Takeaways
- Choose a pacifier clip that’s safe for your baby, with no sharp edges, and made from materials like food-grade silicone.
- Make sure the clip is not too long (7 – 8 inches) to prevent it from wrapping around your baby’s neck.
- Attach the pacifier securely to both the clip and your child’s clothing, away from their neck to avoid choking hazards.
- Check beads on the clips regularly; if they’re loose or damaged, fix them or throw away the clip for safety reasons.
- Wash a pacifier clip by hand using mild soap and warm water; don’t put it in washing machines.
Types of Pacifier Clips
Oh boy, let’s dive into the world of paci clips! Whether you’re wrangling a snap-style clip that clicks like a pro or looping things up with a loop-style charm, there’s just the right type out there to keep your little munchkin’s binky from taking the plunge.
Don’t fret about losing that precious pacifier in the abyss of toys and blankets – we’ve got this pacifier clip thing down pat!
Snap-Style
Snap-style pacifier clips have a super easy way to keep a baby’s pacifier close. You just press and snap it right onto the binky! No fuss, no muss. Plus, they’re strong enough to stay put on your little one’s clothes but won’t be too tough on their cute outfits.
Just make sure the metal clip doesn’t grab any loose parts of clothing or skin – ouch! And hey (just between us), when life gets messy, as it does with babies, clean-up’s a breeze.
A little mild soap and warm water will do the trick for these handy helpers in everyday life. Keep that beautiful design looking fresh for your baby girl or boy while making sure their favorite comfort is always within reach – without diving under the car seat to rescue it from the dirty floor again.
Loop-Style
Switching gears to loop-style pacifier clips, they’re like a best friend for your baby’s favorite soother. Picture this: A sturdy loop of ribbon that slips right over the pacifier ring.
No snaps or hard bits—just a soft, simple ribbon that ties around with ease. Got a Mam or Soothie binky? They’ll buddy up just fine with these loops.
Loop-style clips are lifesavers when you’re on the move. Clip it onto your little munchkin’s shirt and rest easy—their paci stays off dirty floors and within reach (no more playing pick-up every five seconds!).
Loop ‘em through strollers or highchairs too; those clever ribbons make sure baby’s pacifier is never out of sight, always clean, and ready for action! And hey, talk about style—these loops come in cute patterns and colors to match any outfit.
Just remember: Always double-check that loop knot to keep things snug and safe for your tiny tot!
Attaching a Pacifier Clip
Well, now that you’ve snagged the perfect pacifier clip for your little munchkin (hooray for one less thing lost in the abyss of the couch!), let’s get down to business – attaching it! You’ve got this, new mom; with a few simple steps, that precious binky will be hanging out close by instead of playing hide-and-seek.
So grab your baby’s favorite bibs pacifier and that snazzy clip because we’re about to make sure your peace of mind is just a click away.
Inserting the clip onto a pacifier
Getting that pacifier clip on can be a breeze, but let’s make sure it’s done right. First off, take hold of your little one’s binky clip—be it snap-style or loop-style—and get ready to attach it.
If you’re using the snap kind, just press the pacifier handle into the snap and—click—it’s secured! With loop-style clips, slide the loop through the hole in your baby’s favorite bibs pacifier and thread the other end of the clip back through itself.
Pull tight to snug that knot close to the base of your piece.
Securing things well is key because we don’t want small objects to turn into a bad situation. Always double-check those knots and snaps; they should be as tight as a hug from grandma! Now, onto making sure this practical product stays put on baby boy’s or girl’s clothes without slipping away like socks in thin air.
Securing the clip on your baby’s clothing
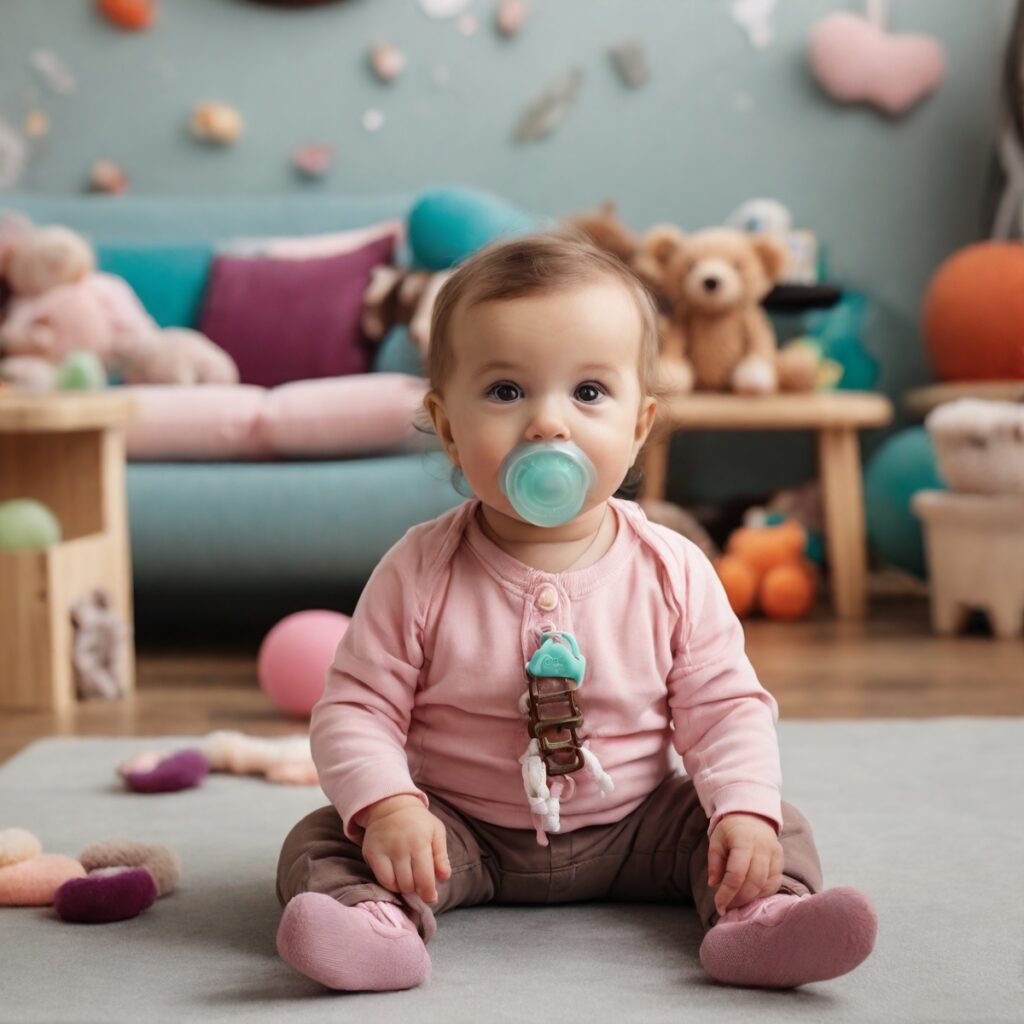
Now that the pacifier is snug on the clip, let’s make sure it stays close to your little one. Open the metal or plastic part at the end of your baby’s pacifier clip. Next, find a piece on your child’s clothing where you can attach it — like a shirt collar or sleeve cuff.
Make sure it’s tight and secure so there’s no risk of it coming off and becoming a choking hazard. It should be close enough for your baby to reach but in a spot where it doesn’t bug them.
Always check that everything is attached right before handing the pacifier back to your baby. This way, their binky stays clean and within reach without any danger of losing it or causing harm.
And hey, feel free to loop the clip onto other things too, like strollers or highchairs! Just always double-check that the total length is safe and follows safety guidelines so that there are no risks around your baby’s neck or face.
Keep an eye out for any first sign of damage; if something looks wrong with the clip or beads – fix it right away! You’re doing great keeping those cute smiles safe and sound while using these handy clips!
Expert Tips
4. Expert Tips: Now, let’s get down to the nitty-gritty — expert advice that’ll have you using pacifier clips like a pro in no time! I’m talkin’ insider secrets that’ll help you dodge common mistakes and keep your little one safe, happy, and soothed.
because at the end of the day, isn’t that what we all want?
How to choose the right clip for your baby
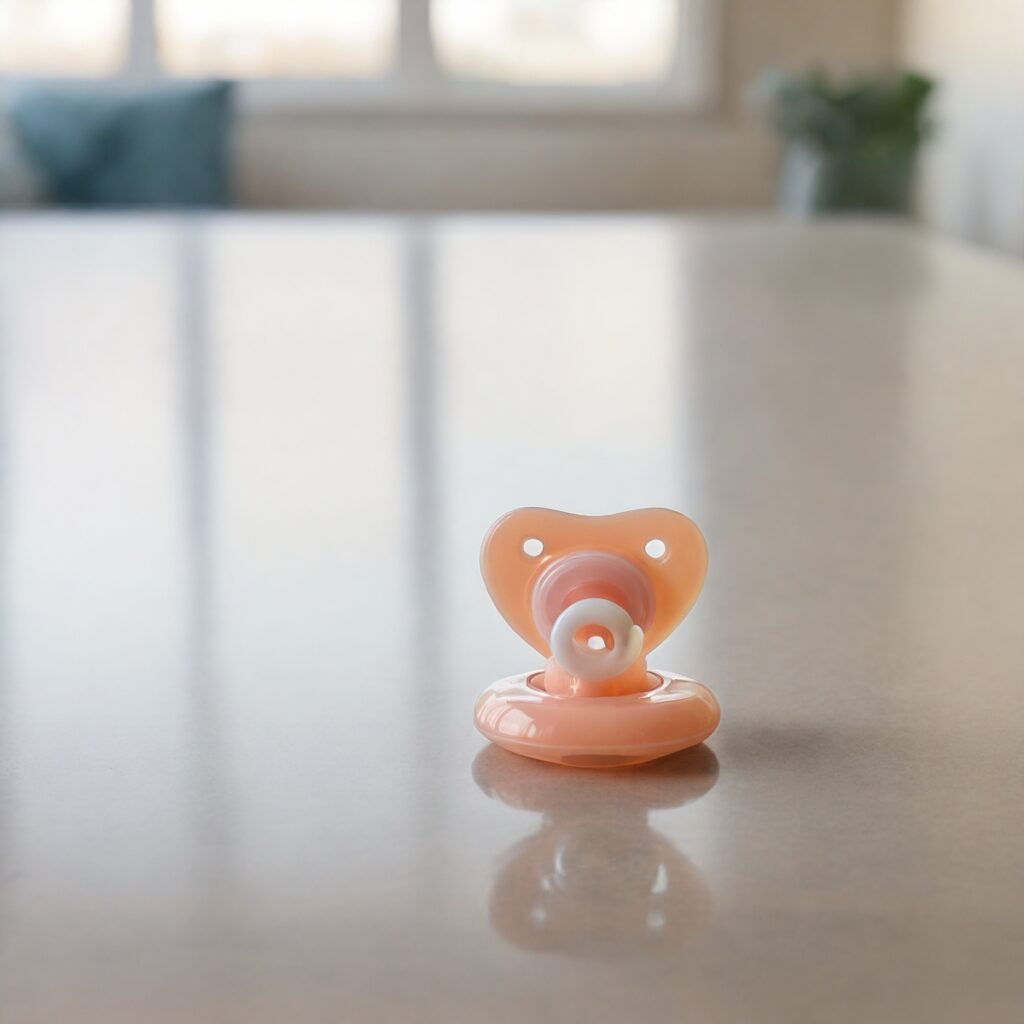
Finding the perfect pacifier clip for your little one is like picking out their first teddy bear—it’s got to be just right. Go for a clip with food-grade silicone if they love to munch on everything in sight.
This kind of material is safe and works great when teeth start popping up. Make sure it feels comfortable, with no sharp edges that could poke your baby.
Keep an eye on the length too. The best pacifier clip should not be too long; 7-8 inches will do the trick, so there’s no risk of it wrapping around their neck by accident. And hey, let’s talk style while we’re at it—choose one that makes you smile! Maybe it matches their outfit or shows off a bit of personality with fun colors or shapes.
Now you know how to pick a pacifier clip, but don’t forget about safety.
How to avoid potential dangers
So you got that cute pacifier clip for your little one, huh? Smart move! But hey, let’s keep things super safe. Check those beads—if they’re not on there like they’ll last forever, fix ’em or toss them.
We don’t want any tiny pieces finding their way to your baby’s mouth. And keep an eye on the length; too long and it could get wrapped around something—yikes! Always clip it onto a piece of your child’s clothing that’s close to their face but far from the neck.
Got a teething tot? Go for a pacifier holder with food grade silicone, so when they gnaw on it (because babies love doing that!), you know they’re biting down on the good stuff. The washing machine is off-limits though—take care of that clip by hand washing with soap and warm water.
Last thing: If anything looks worn out or damaged – even if it hurts to say goodbye – get rid of it pronto for safety’s sake. Baby comes first, after all!
Conclusion
Alright, you’ve got this! Remember to pick a clip that’s just right for your little one and keep it clean. Clip it onto their clothes, not too close to the neck, so they’re safe and sound.
If you ever see any wear or tear, it’s time for a new one. Happy clipping and here’s to no more lost pacifiers!